Monday, September 9, 2019

Happy Little Stampers September Challenge...

Hi! I am here with my inspiration for the September challenge at the Happy Little Stampers Anything Goes with Dies challenge. If you love playing with your dies, this is the challenge for you. 


I created an easel card as inspiration. I also plan on using this card as a sample for a demo on die-cutting that I am doing at a local craft store.


I started with some black cardstock that I cut with the Labels and Frames Stitched die by Sizzix. You need three identical pieces for an easel card - one top piece and two pieces cut on a fold. To assemble the card, fold one of the pieces in half and adhere the top piece over it. Here is the opened card.


I also cut out a bunch of wreaths from red, orange, dark orange, yellow and pink colored papers. I layered the wreath die cuts and adhered them with glue. The sentiment is from the Say It With Florals set by Pinkfresh Studio. I stamped and heat embossed it with the Gold Tinsel embossing powder by Ranger. Here is a closer look at the card.


To finish, I cut a smaller piece out of the orange card and adhered it to the base. I also added two half pearls to keep the easel propped up when open. Since I didn't have them in gold, I simply used my gold Sharpie marker to colour them.

Here is another look at the completed card.


Hope you find my card inspiring and pull out your dies to play. You can check out the Happy Little Stampers Anything Goes with Dies challenge blog for more inspiration and also link your creations. Looking forward to seeing your cards in our gallery.

Love,
Nandini

Sunday, September 1, 2019

Rainbow Card Challenge - Beautiful Brown...

Hi! The new challenge is up for the Rainbow Card Challenge. Here is the inspiration pic.


I started with a completely different card. But for some reason, it just wasn't coming together. I finally kept it aside and started browsing through Pinterest for some inspiration. While browsing I found a beautiful card by Connie Stewart, which greatly inspired me. You can find the original card here. I pulled out my supplies and the new card came together within one hour! I love how beautiful this card turned out.


I started with a piece of ivory card stock and stamped the leaf image from the A Tree For All Seasons stamp set by Winnie and Walter randomly. I used the four ink cubes from the Coffee Break mini ink cubes set by Altenew. After letting the panel dry a bit, I stamped with Versamark ink and heat embossed with Ranger's Enchanted Gold embossing powder. 

Here is a closer look at the panel.


I trimmed the panel and adhered it to a dark brown card base. The sentiment is from the Birthday Greetings stamp set by Altenew. I stamped and heat embossed it with Ranger's Metallic Gold embossing powder and popped it on the panel with some foam tape. To finish, I added a few clear gems from my stash.

Here is another look at the completed card.


I hope you liked my card and are inspired to create something beautiful You can visit the Rainbow Card Challenge blog for more inspiration from the design team and to link your entries. 

Love, 
Nandini


Papercraft Challenge #22...

Hi! I am here today with a new challenge at the Papercraft Challenge blog. We have a new challenge on the first of every month. You should also visit the Papercraft Business site that has great tools that can help you take your papercraft business to the next level. Do check out the awesome Papercraft Business Planner that helps you keep track of your challenges.

The theme for September is - There’s a Bear in There! You can use any kind of bear from teddy bears to polar bears to panda.

I was a bit worried because cutesy critter cards are not my thing at all! I don’t have stamp sets in this style and I am very nervous about colouring critter images. But that is part of the fun of being on a design team. You have to stretch yourself to learn new techniques. So I pulled out an old set by Mudra Craft Stamps and my Zigs and got to work. Here is the card I made.

  • Stamp the bear image from the Bear Friends stamp set by Mudra Craft Stamps on some watercolour paper.  Ink the stamp with a dark brown Zig. The idea is to get a no-line watercolour look. Stamping with the Zig marker gives a clear outline which will naturally blend with the colouring.
  • Use three shades of brown and a damp brush to colour the bear. 
  • Use shades of pink for the snout and the ears.
  • Once the panel is dry, add outlines and details with the dark brown Zig marker. 
Here is a closer look at the bear.

  • Mask the bear and create the landscape by blending green and brown distress inks over paper masks. Use shades of blue for the sky.
  • The stamp set has a tuft of grass. Ink it with a dark green Zig marker and stamp. Add a little shading and a few flowers with Zigs.

  • Stamp the sentiment on some vellum with Versafine Onyx Black ink and heat emboss with clear embossing powder. 
  • Trim the sentiment panel and staple it to the stamped and coloured panel.
  • Adhere it to a green card base over a black mat.
Here is another look at the card.


I hope my card inspires you to create something beautiful. Do remember to check out the Papercraft Challenge blog for inspiration from the rest of the design team. There are lots of cute creations that you will love! 

The winning prize: Whimsy Stamps – Celebration Pennants

You can get more information about Papercraft Challenge Planner here. It is an invaluable tool for all crafters who love taking part in challenges. The Papercraft Business site also has tools that can help you take your papercraft business to the next level. 

Looking forward to hearing from you.

Love,
Nandini

Wednesday, August 28, 2019

Challenge Entries...

Hi! I recently made a card set using Altenew supplies as a birthday gift for a friend. This is also my inspiration for the current Addicted to Stamps and More challenge where the theme is Anything Goes.  


You can find the details on how I made the cards and the box here. I am entering these in the following challenges.

International Art & Soul Challenge #65 - Flowers:

Simon Says Stamp Wednesday Challenge - Clean & Simple:

Simon Says Stamp Monday Challenge - 'S' is for:
S is for stamping.

Just Us Girls #502:
I have used most of the colors in my card set.


This is my favorite card from the set.


Entering this card in the following challenges:


I used the left column - Stamp, Distressing, Flowers

STAMP(DIGI OR RUBBER)
EMBOSSING
DIE CUTS/PUNCHES
DISTRESSING
SENTIMENT
SHAPED CARD
FLOWERS
METAL EMBELLISHMENT
RIBBON/TWINE

Love the soft colors on this card. It reminds me of cotton candy.


Entering this card in the following challenge:


Love,
Nandini

Addicted To Stamps And More Challenge #356...

Hi! I am here today with some fresh inspiration for this week’s challenge at the Addicted to Stamps & More challenge blog. The theme this week is our most popular one.


I created a card set using some Altenew supplies for a dear friend. I also made a box to hold the cards and envelopes and decorated it using the same stamps. Here is the box.


I made the box with black card stock. I created the top by stamping the outline flowers from the Beautiful Day stamp set by Altenew on a cream panel with red and teal inks. The sentiment is from the Birthday stamp set by Ranger. I stamped it with Versafine Onyx Black ink.

A look inside the box.


For all the cards I used the Beautiful Day stamp set and mini ink pad sets by Altenew. 

For the first card, I used the Warm and Cozy mini cube set. 


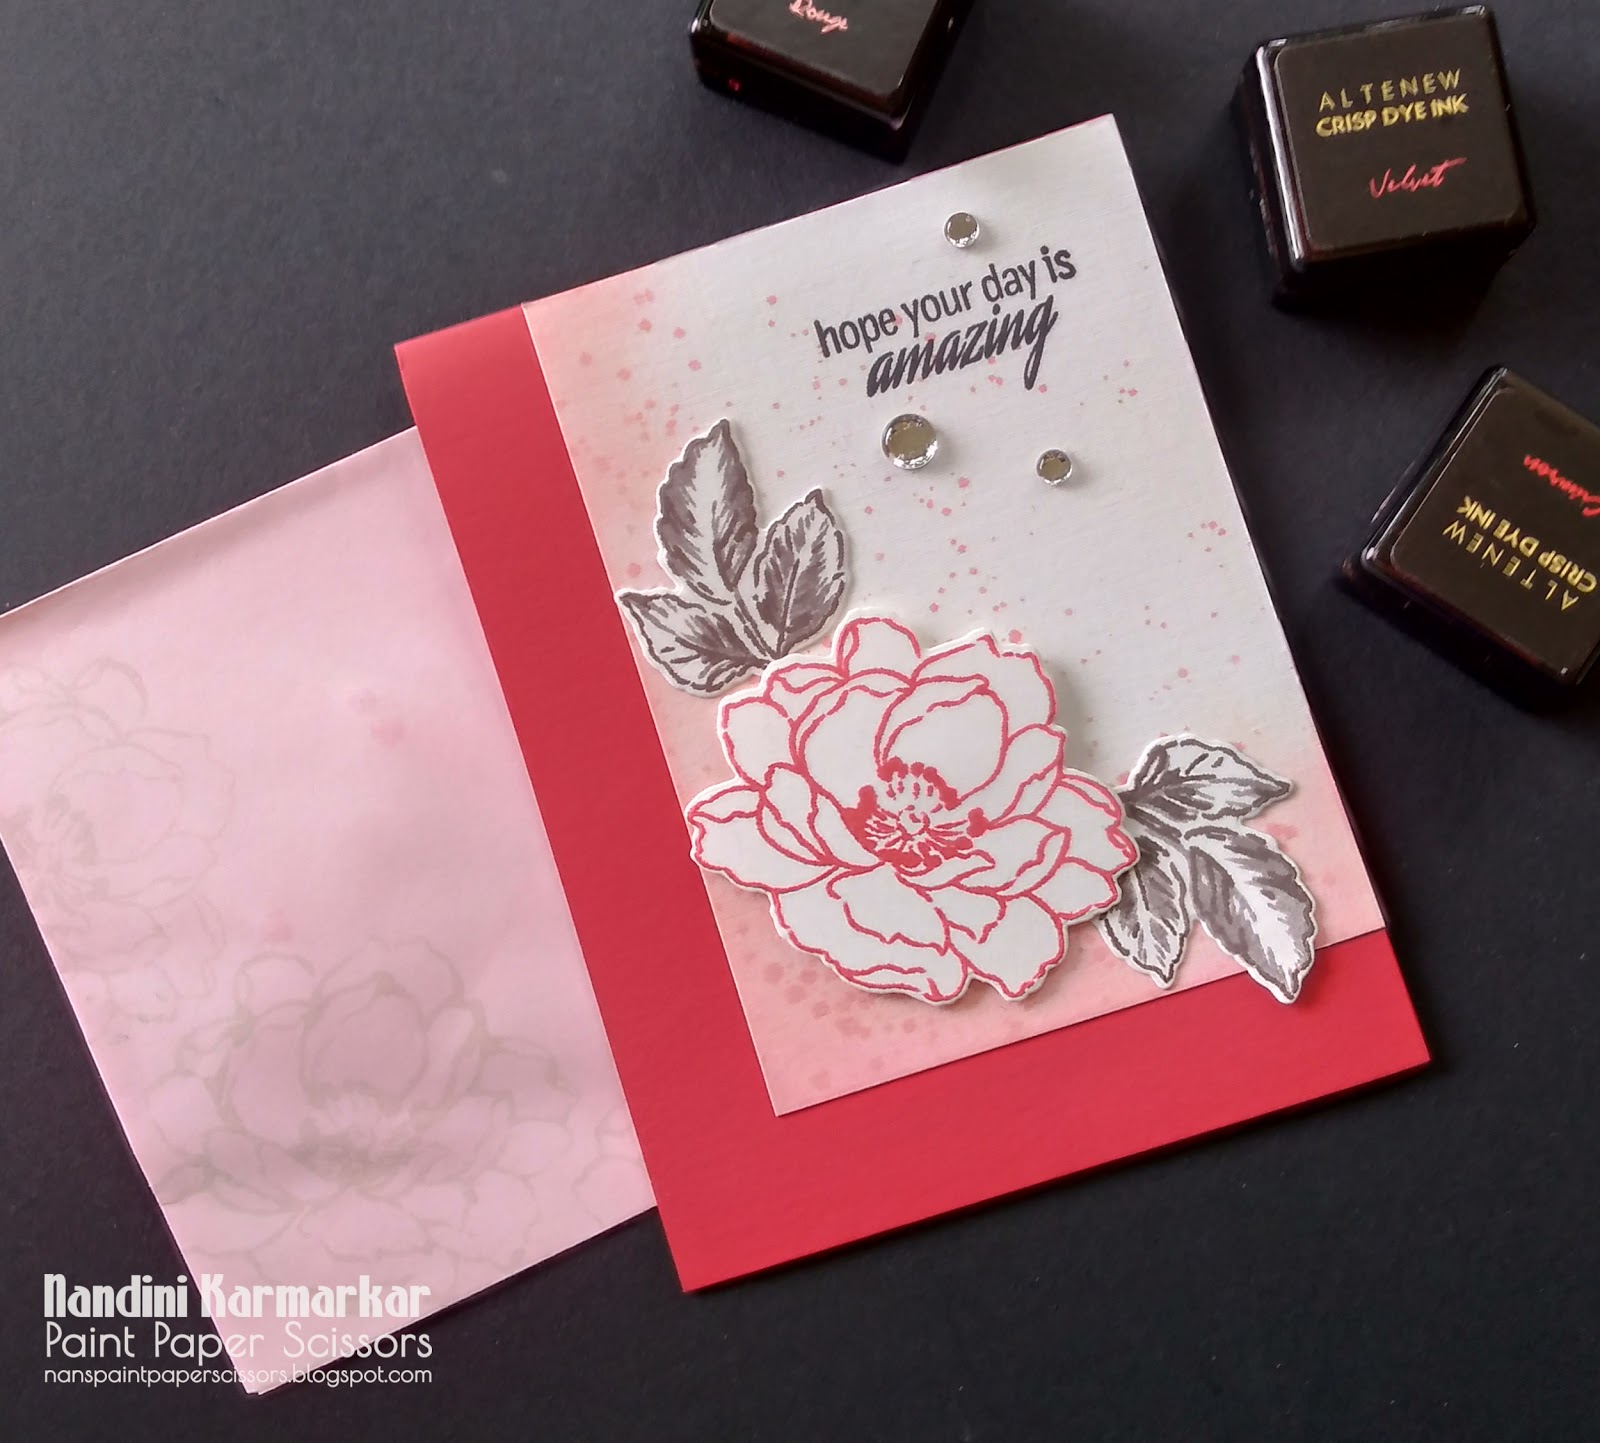
I stamped only the outline of the flower, using the darkest shade in the set and die cut it using the coordinating dies. The leaves were stamped with three shades of the Warm Grey set and also cut using the dies. I trimmed a panel of white card stock and inked a corner with the same ink I had used for stamping. I also added some ink splatters for added texture.


I adhered the inked panel to a coordinating card base and arranged the flower and leaves over it. The sentiments are all different, from Fresh Freesia, Beautiful Day and Floral Art stamp sets. I stamped each with Versafine Onyx Black ink. 

To finish, I added some clear gems from my stash. I also stamped the flowers with light grey ink on all the envelopes. Here is the completed card and envelope.


Here are the rest of the cards with the ink sets I used.

Sea Shore mini ink cube set


Tropical Forest mini cube set


Red Cosmos mini cube set


Glacier Caves mini ink cube set


Red Sunset mini ink cube set


Here is the whole card set along with the box.


I hope you liked this card and are inspired to create something beautiful. I look forward to seeing your creations in our gallery. Please visit the Addicted to Stamps and More blog to link your creations and also get more inspiration from my talented teamies.

Love,
Nandini

Wednesday, August 14, 2019

Addicted To Stamps And More Challenge #354...

Hi! Wednesday means a fresh new challenge at the Addicted To Stamps And More Challenge. This week’s theme is very dear to me.


I have always loved the Build-A-Flower series by Altenew. This series features a different flower every month and the sets have both stamps and the coordinating dies, which is great. I decided to go for the Japanese Mums as my first set. Here is the first card I made with this gorgeous stamp set.


I started with a top folding card base in cream. This paper has a fine splattering of dark colors which gives it more texture. I stamped the outline of the Japanese Mum stamp set by Altenew with Versamark ink all over the front and heat embossed it with Ranger’s Metallic Copper embossing powder. After heat embossing, I stamped the final, detailed layer with Versamark and heat embossed with the same embossing powder. Here is a look at the embossing.


Since the background was quite busy, I decided to keep the rest of the card very simple. I stamped the sentiment from the Birthday Greetings stamp set by Altenew on a strip of the cream paper with dark brown ink. For the mat, I simply inked another piece of with the same ink. I adhered the mat to the card base and added the sentiment panel popped up on some foam tape. To finish, I added two pearls from my stash.


Here is another look at the completed card.

I hope you liked this card and are inspired to create something beautiful. I look forward to seeing your creations in our gallery. Please visit the Addicted To Stamps And More Challenge to link your creations and also get more inspiration from my talented teamies.

Entering this card in the following challenges:
International Art & Soul Challenge #64 - Embossing:

Crafting Happiness #9 - Flowers:

Scrap From Your Heart Challenge #36 - Monochromatic:

Pearly Sparkles Challenge #43 - Something Beginning with B:

CCEE Stampers CCEE1932 - Embossing:

Love,
Nandini

Tuesday, August 13, 2019

One Layer Card...

Hi! I was very happy to receive my parcel from Altenew recently. It took more than a month to reach. But I am happy to finally have it because it brought me my very first Build-A-Flower set and the gorgeous Beautiful Day set. These have been on my wishlist for ages. I couldn't resist playing with them immediately.

One layer cards are always very challenging. I decided to try my hand at making one, using a technique that Yana Smakula recently demonstrated. You can find the original card and the video here. And here is my card.


I started with a cream card base. I love this paper as it has tiny flecks of dark colors. I masked off the edges with washi tape and then stamped my flowers with the inks from the Altenew Coffee Break mini ink pad set. Since I used the stamp positioner, I was able to get two identical flowers by simply rotating the card base. I used the largest bloom from the Beautiful Day stamp set by Altenew and used all the layers except the base layer. The sentiment is also from the same set and I stamped it with Versafine Onyx Black ink. Here is a closer look at the flower.


I stamped some of the smaller images around the flowers as well. After the stamping was done, I used the Sand Dunes ink and blended it around the edges with a makeup brush. I allowed the ink to dry a bit and then carefully peeled the washi tape away.

Here is another look at the completed card.


I really love this look. Entering this card in the following challenges:

ModSquad Challenge - Layer Me Not:
This was the challenge that inspired me to try this technique.

The Flower Challenge #35:


Designer’s Choice Challenges A719 - Try A New Technique:


Love,
Nandini