Showing posts with label paper piecing. Show all posts

Friday, November 10, 2017

Busting my stash...

Hi! I love paper, especially handmade paper. Unfortunately I don't seem to use it much. I just end up hoarding it and admiring it from time to time! So I decided to make a dent in my stash inspired by a card by the talented Keeway Tsao who blogs at Kiwi Koncepts. You an see the original card here.


I took a bunch of scraps from my stash, cut them into strips and adhered them onto a piece of scrap paper. I stamped the blooms from the Carnations stamp set by Mudra Craft Stamps on the panel with Memento Tuxedo Black ink. I used the Mudra Stamping Mask sheets and they worked very well! The sentiment is from the same set and was heat embossed with Ranger's Gold embossing powder.

I trimmed the panel, matted it with some black paper and mounted it on a kraft card base.

Here is a closer look at the panel.


I really love how beautiful this card turned out!

Entering this in the following challenges:

Lea Lawson's Crafty Comeback Party Day 12 - Ink Road:
I was very inspired by the beautiful fall themed colors used.

The Flower Challenge #14 - CAS:


Mod Squad Challenge - It's All In The Color!

STAMPlorations CAS Card Challenge - November:


Watercooler Wednesdays Challenge - WWC144:


Love,
Nandini

Monday, May 29, 2017

Make My Monday #47...

Hi! I am back with a new challenge at the Make My Monday challenge blog. The theme is Victorian Romance.

Here is my inspiration card.


I had a tough time coming up with this card. Victorian style of design to me means lots of girly lace, multiple layers and soft pastels. Which is rather different from my style. I always admire such designs by others. But I really struggle to with it. At the last moment I remembered a pack of pattern papers called Sofiero from Maja designs that I have had for years. This was the very first giveaway I ever won and I love the beautiful, feminine designs.

I simply cut a few pieces from the papers and adhered them to a piece of scrap paper. I trimmed the panel to size and added faux stitching lines with the Stitches stamp set by Bo Bunny. I used Versamark and Metallic Pick EP by Wow! for the heat embossing. The scrap of lace is from my stash. Here is a close up of my card.


I used the Downton Abbey - Ornate Mirror die by Crafters Companion to cut a piece of handmade paper and few pieces of white card stock and layered them together. The sentiment is from the A Tree for All Seasons stamp set by Winnie & Walter. I stamped it with Versamark on a piece of paper from Sofiero stack and heat embossed with Vanilla EP.

I hope my card inspires you to create something beautiful. Please don't forget to link your creations in our gallery here and also check out the fabulous creations by my fellow DT.


Entering this card in the following challenges:


ModSquad Challenge - Birthday Bash


Stamps & Stencils - Fabric & Fibres


Allsorts Challenge Week 417 - Vintage Style


Sweet Stampin' Challenge - Use Your Old Stash

The pattern papers I used are from the Sofiero collection by Maja Design which I won in a giveaway in 2014. I have used stamping for adding faux stitching detail and the sentiment. 

Crafter's Cafe Challenge #173 - Birthday


Love,

Nandini

Monday, December 5, 2016

Make My Monday Challenge #36...

Hi! The new challenge is up on the Make My Monday Challenge blog and this time around we want to see some snowmen on your cards.

I was quite stumped when I sat down to make this card. I went through my entire stash and couldn't find a single snowman stamp or die! Easiest thing would be to buy one, especially since there are so many crafty sales happening. But I am seriously trying to curb my spending and decided to challenge myself to use the existing supplies. There is no lack of inspiration as the blogland is full of gorgeous creations with approaching Christmas. I pulled out my stash of basic dies and here is what I made.


I started with a panel of white card stock. I blended Broken China, Mermaid Lagoon, Blueprint Sketch and Faded Jeans for an ombré effect. I added some texture by sprinkling water and blotting it. I used a circle from my WRMK-Lifestyle Nesting dies set. This is a great buy since it has 21 dies ranging from ¼" to 5½" with ¼" increments. Since I don't have any oval dies, I did a bit of jugad and used the Ornate Mirror die by Crafters Companion. This is a frame die with an oval center. The arms are two branches from the Seasonal Tree die by Paper Smooches. I added the details with a black microtip pen and dressed him up with odds and ends from my scrap box. Here is a closer look:


The snowdrift was created using the MFT's Stitched Basic Edges and the panel was cut using the Stitched Rectangle dies by Diecuts & More. The sentiment is from Craftyscrappers, heat embossed with Ranger's Silver EP. I popped the panel on some double sided tape and mounted it on a plain white card base.


I hope you like my snowman card and are inspired to create something beautiful. Please link up your cards to the Make My Monday Challenge blog and don't forget to check out the awesome inspiration by my other teamies. Looking forward to seeing your creations in our gallery.


Entering this card in the following challenges:


CAS Mix Up December Challenge:
I have used sponging, distressing, die cutting, paper piecing, stamping and heat embossing.


Twelve Days of Christmas Cards Challenge:


Love,
Nandini

Saturday, October 17, 2015

The Indian Craft Room is back!

Hi! The Indian Craft Room is back! ICR was the one of the first challenge blogs that I started following and holds a very special place in my heart! The ICR challenges are back and I HAD to participate!

The first challenge is interesting with a great story board for inspiration.


I decided to take my love for quilting & sewing and adapt it to paper. I started with a bunch of rectangles sized 1" x 2". I folded them and started layering them to form the Somerset Star, a traditional folded star quilting pattern from the UK. I used this great tutorial by Janet Kan who blogs at Stitch n Sing


The challenge says use more than three triangles. I ended up using a lot more. Well, 40 triangles to be precise!


Rest of the card was easy. I used some dark brown cardstock. The sentiment is from the Deck The Halls Tobie set by Some Odd Girl Stamps which I won as part of blog candy by Simon Says Stamp. I heat embossed it and add two scored lines for some definition.

Here is a close up of the beautiful Somerset Star.


I am entering this in the Indian Craft Room's ICRCAUT01 challenge.

Also entering it in Beyond Grey Challenges BGC #72 - Anything Goes.

Love,
Nandini

Monday, August 18, 2014

A Blog Hop and Inspiration Card...

Hi! The CASE Study Challenge Blog, one of my favorite challenges, is celebrating its 4th anniversary. There is a blog hop and also a challenge. After going through the hop, we can make a card inspired by one of the pieces of art work. I really enjoyed the hop and all the great inspiration present. But the card that I really fell in love with was by one of my all time favorites, Jennifer McGuire. You can check out her awesome creation here.

And my take on her card is this:


The base is white hand made paper. I used some water color paints from my daughter's supplies. The strip on the left is paper pieced using strips that I painted with the same colours used for the flowers. The stamp set is from Itsy Bitsy. The sentiment is from CAS-ual Fridays and stamped on some translucent white paper with gold embossing powder.


I am entering this in the following challenges:

CASE Study Challenge Blog:
CASE Study 4th Anniversary Week #2


I cased Jennifer McGuire's gorgeous water color card.

CAS(E) This Sketch #88:
I used this lovely sketch


Crazy For CAS:
Challenge #51 - Watercolouring

Beyond Grey Challenges:
BGC #57 - Watercolours

Hope you liked this card. I sure did! 

Looking forward to hearing from you!

Love,
Nan

Monday, July 21, 2014

Card swap...

Hi! I made a bunch of cards for Swap Central India last month. I was really thrilled when Swap Central restarted, after a break, as I have enjoyed each and every swap I have participated in!

I had to wait till the cards were officially 'revealed' on their blog. So here I am, finally, with my set of cards.

The first card is a square 'Thank You' card.


The base is pink handmade paper. The DP is actually a tissue paper that is attached to some thick card stock using cling film. I had seen the tutorial for this a long time ago. Unfortunately I don't remember where. I tried it and it works beautifully! The sentiment is computer generated and printed. Some green twine and pearls finished the card.

For the second card, I went with a CAS but layered look.


The base is gold handmade paper. The DP is created by gluing diagonal strips of assorted papers onto a piece of scrap paper. I love this technique as it gives a lovely, rich look and also uses up all the scraps of paper that I hate to throw away. This particular strip is left over from two previous cards. You can check them out here and here


I used gold embossing powder for the sentiment. The floral gems are from my stash.

The third card uses a new technique that I tried for the first time. The original tutorial is by the amazingly talented Jennifer Mcguire. You can check it out here.


Supplies used are green and pink hand made paper. The embossing folder is from Itsy Bitsy. I used green and pink pigment inks for the embossed panel. I did struggle a lot to finish this card as nothing seemed to work after I had assembled the layers. Finally I decided to keep things simple and heat embossed the sentiment in white.


I used some tiny pearls to add a little bit of glamour to the card.

The final two are my favourites.


The card base is water colour paper. The panel is coloured using acrylic paints in blue and red. The butterflies are punched and then covered with glitter. I also covered the flourish die cut with glitter to make it pop.

I stamped the sentiment using my favourite Micia stamp set and dark blue sketch pen.

The fifth card turned out so much better than I imagined that I almost didn't send it!

The background is handmade paper, coloured using acrylic colours in pink, orange and yellow. I used my favourite Chloe Stem die by Memory Box. 

The sentiment is computer generated and printed on translucent paper. I added some pearls to finish the card.

Here is a consolidated image of all the 5 cards.

I really enjoyed this swap and am looking forward to the next. You can check it out here.

Looking forward to hearing from you.

Love,
Nan

Thursday, June 12, 2014

Second card...

Hi! Another super quick post today.

I made a second card based on the CAS(E) This Sketch Challenge #79.


The second card came about as I was making the first. I just flipped the sketch and used the leftover scraps of the pattern paper.


Supplies used are black card stock and antique gold handmade paper from Chimanlals. Some tear drop shaped gems in yellow from my stash and sentiment from a Micia set stamped in black completed this card.

Linking this card to the following challenges:

CAS(E) This Sketch Challenge #79
I used the sketch.

Iron Craft Challenge Week 2
I used Inspiration Collage 1.

Love,
Nan

One sketch, two cards...

Hi! Super quick post today.

I made a card based on the CAS(E) This Sketch Challenge #79.


My take on this fab sketch is this card.


Supplies used are dark brown card stock and antique gold handmade paper from Chimanlals. I created the pattern paper by cutting ½ cm wide strips from assorted scraps of hand made paper and gluing them diagonally on another piece of paper. The sentiment is from Micia stamps and embossed in black on some translucent white paper.


Some sequins in antique gold finished the card.

The second card came about as I was making the first. I just flipped the sketch and used the leftover scraps of the pattern paper. 

Linking the card to the following challenges:

CAS(E) This Sketch Challenge #79
I used the sketch.

Iron Craft Challenge Week 2
I used Inspiration Collage 1.

Love,
Nan

Wednesday, May 28, 2014

New techniques...

Hi! Sometime ago I won a spot in the Online Card Classes: Clean & Simple One Layer Cards 3. Unfortunately, I was not able to do much more than drool over the awesome techniques demonstrated due to some previous commitments. Now that I am fairly free, I decided to try my hand at some of them. I ended up making a card for somebody who has just passed her board exams with fantastic marks.


I combined the Faux Letterpress technique demonstrated by Shari Carroll with the die cut inlay technique.


Supplies used are white watercolour paper, quilling strips, glycerine and white pigment ink from Itsy Bitsy. I created the circles stamp by die cutting craft foam and attaching to an acrylic block with thin tissue tape.


The sentiment was created digitally and printed out on some translucent white paper. I rounded the corners and mounted the panel on some double sided tape to complete the card.


After I finished making the envelope, I decided to use up the white circles that were left over as extra decoration.

Overall, I am quite happy with this card, though my stamping needs lot more practice!

Entering this card in the following challenges:

House of Cards:
May Challenge #2
I was inspired by the colours

CAS(E) this Sketch:
Sketch #77
Absolutely loved the sketch.

Less is More:
Week 173
I used die cuts for both stamping and inlaying

Time Out Challenges:
Challenge #6
I was inspired by the striped rug and the colours of the pillows.

Love,
Nan

Thursday, May 15, 2014

My first layout...

Hi! The latest challenge at Beyond Grey Challenges: BGC #51 is a wonderful sketch for a layout.


I was very happy when this challenge was announced as I have been wanting to get into scrap booking seriously for a long time. I have, of course, done several digital layouts, but physical layouts are a different ball game altogether!

So here is my take on this fun sketch.


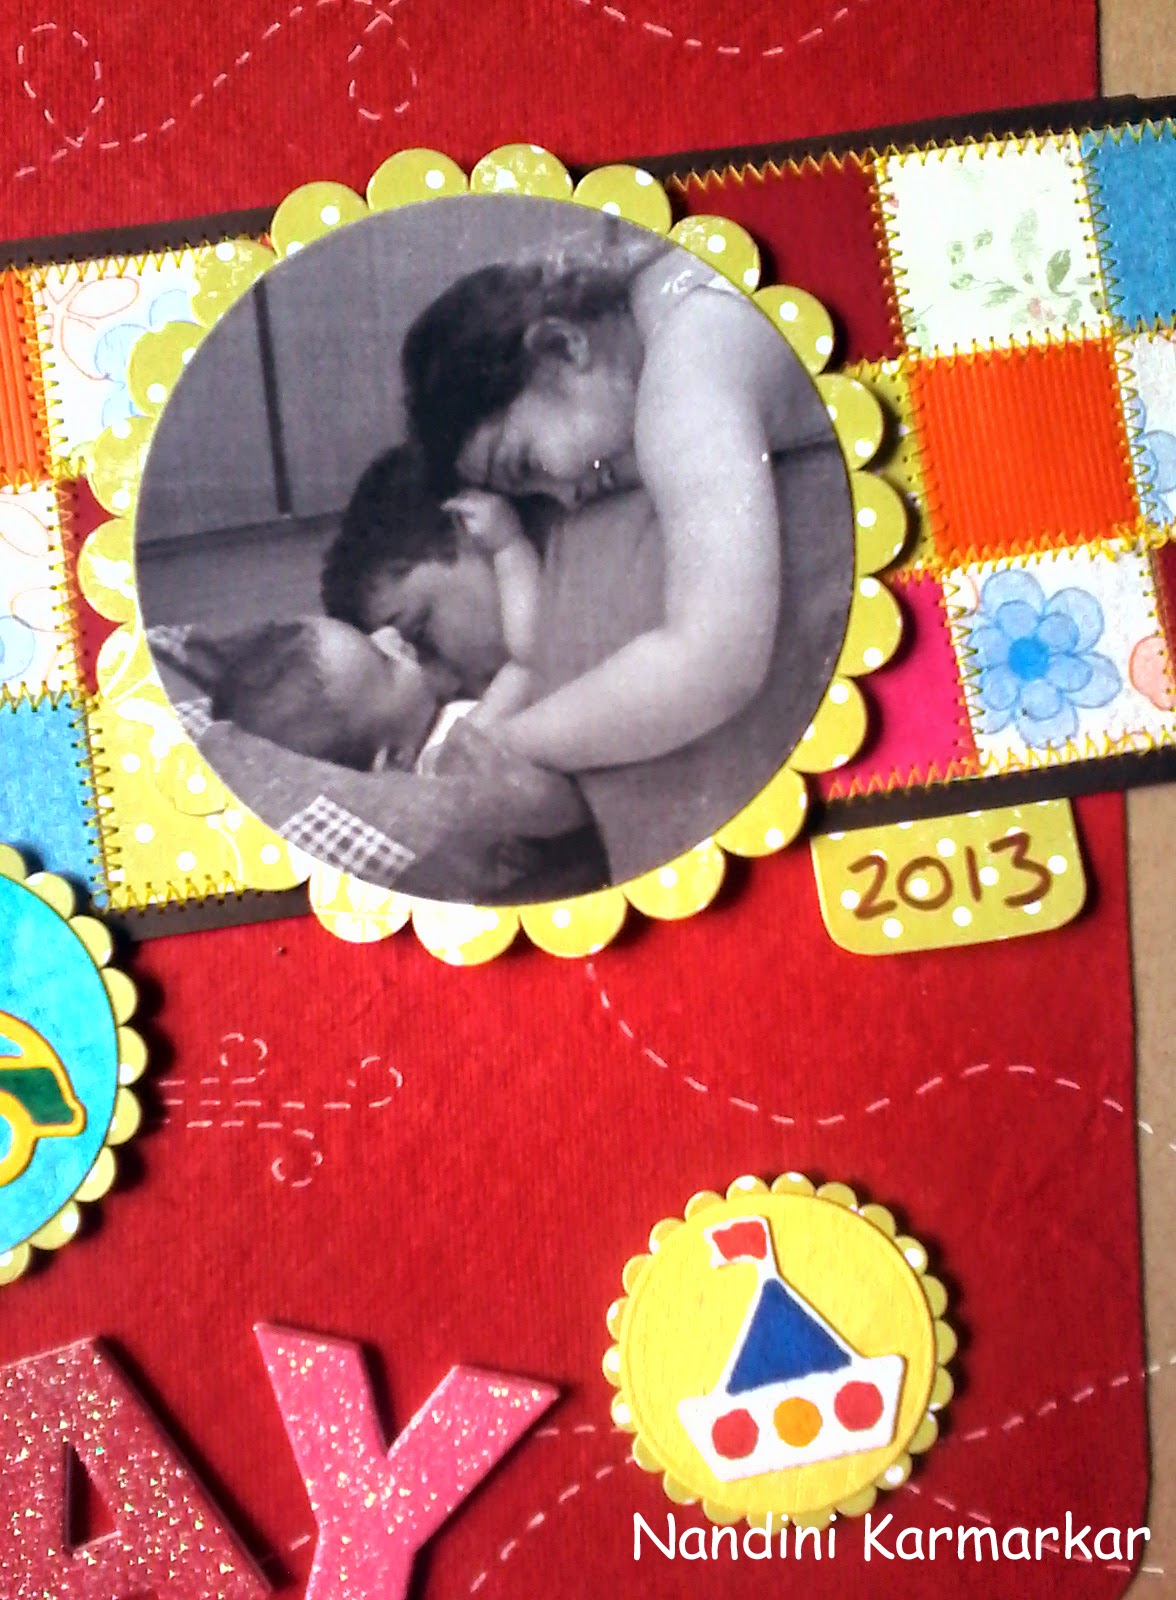
I found this lovely pic of my husband and the kids playing and decided to use it. I wanted to use bright colours in the layout to convey a sense of joy and fun.

I converted the pic to gray scale to make it stand out. The little tab is to note the year this pic was taken.

The paper pieced band is made up of little squares of paper scraps that I die cut, pasted and then stitched over. The floral DP is actually a tissue paper that I stuck to a piece of card stock using cling film.

The car

the plane and 

the boat are all from the Shapeabilities Play Time Cut/Emboss & Stencil Die set which I bought from Itsy Bitsy ages ago. 

The glitter alphas are also from Itsy Bitsy. I changed the position of the title since I did not want to take away any thing from the band which actually reminds me of a warm and cosy quilt. The final touch were the dashed lines which add some movement to the design.

I am entering this layout in the following challenges:

Beyond Grey

Sentimental Sundays

CAS-ual Fridays
I have used 3 DPs, 3 toy die cuts and there are three people in the pic.

Virginia's View Challenge

Hope you liked my first attempt at a layout. Would love to hear what you think of it!

Love,
Nan

Thursday, February 6, 2014

A birthday card...

Hi! I am back with a card which I made for a very dear friend. After a very long time, I actually made a card at one go. Normally my projects take couple of days, since I have to craft around a very active toddler.


I used the sketch from Retro Sketches #100.


The theme and colour palette is from Beyond Grey Challenges' BGC #45 - Colour Palette + Sweet tooth.


I decided to make a Center Step Card, the tutorial is available at Splitcoaststampers.


Supplies used are white handmade paper, yellow card stock and various scraps of pattern papers from my stash.

The cake is a digital stamp from Paperprintables and the sentiment is from Create with TLC. Both are free downloads.


I coloured the image using Faber Castell sketch pens. The stars were done with a gold glitter pen. I also used glitter pens in pink, gold, blue and orange to accentuate the sentiment.


The sentiment inside is again a freebie from Create with TLC and I continued with the banner theme inside.

I also decorated the envelope quickly, with some left over triangles.


Entering this card in the following challenges:

Retro Sketches - #100
I used their lovely sketch

Beyond Grey Challenges - BGC #45 - Colour Palette + Sweet Tooth
I used the image of a cake and the all the colours in the palette.

Paper Players - PP#181 - Anne Marie's Theme Challenge
I used the image of a cake.

Love,
Nan